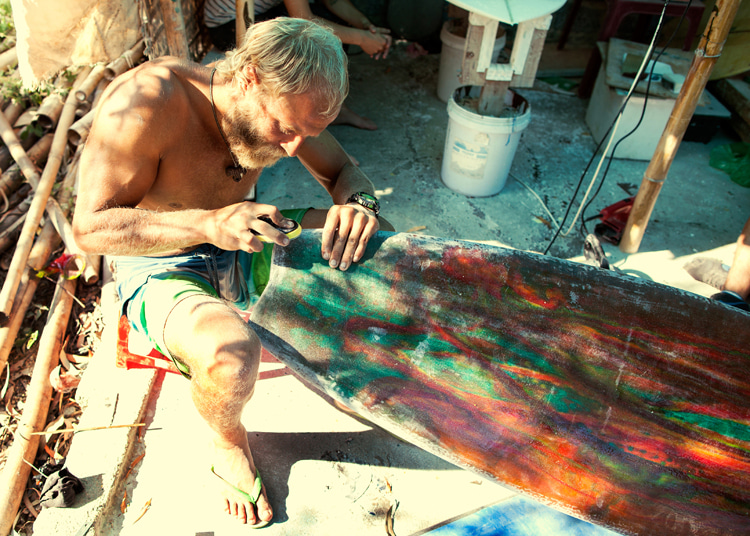
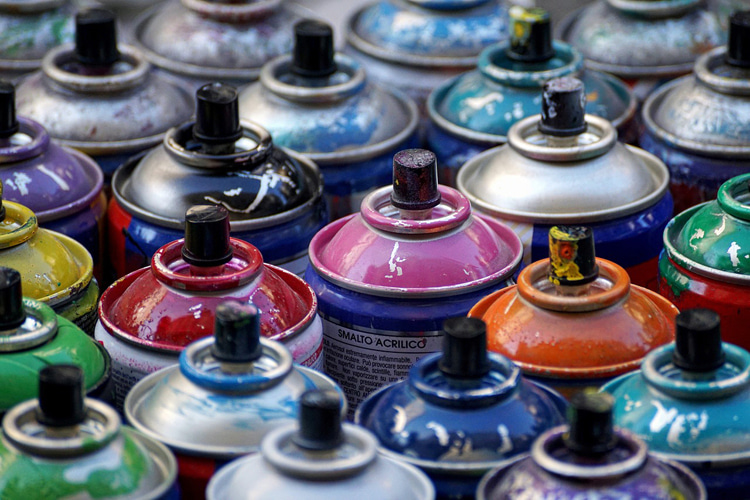
Has your surfboard turned yellow with the sun? Do you want to give it a new look? Learn how to paint and add vibrant colors and gorgeous designs to your old wave riding weapon.
When we buy a brand new surfboard, we know that the coloring process was performed before the resin stage to ensure everything is locked in and waterproof.
But wear and tear, as well as the sun’s ultraviolet rays, will slowly change its look over time.
So, it might be interesting to change it a bit. All you need to do is let your own artistic side flow freely or get a few inspirations online.
Are you into abstractionism, realism, pop art, or surrealism?
Whatever your favorite art painting style is, you’ve got to make sure you do it right. Here’s how to paint your surfboard using spray paint.
Materials
Painting a surfboard is inexpensive. You can do it in a couple of hours at less than $25.
Here’s what you’ll need:
Wax Scraper
Mineral Spirits and Acetone
Cloth
Base Coat Spray Paint
UV-Resistant Acrylic Clear Coat Spray
Masking Tape
Cardboards/Paper


DIY Surfboard Paint Job
Spray painting a surfboard is easy, but you should follow a few guidelines as there’s no undo button.
Make sure to wear gloves and a mask and do it in a place where you know you won’t be painting furniture, floors or other objects.
1. Clean Your Surfboard
Spend as much time as you can cleaning the surfboard that you’re about to paint. This is a critical stage.
Remove any stickers you might have and do all the ding repairs before applying the paint.
Then, use a wax comb to remove all the sticky layers that are glued to your board. If needed, use a hairdryer to melt the wax.
Now, pour some mineral spirits on a cloth and clean the entire surfboard.
Once you’ve gotten all the wax off, wipe it with acetone until no traces of grease remain.
2. Isolate the Traction Pad and the Fin Boxes
If your goal is to add color and/or drawings to your surfboard, you must prevent the traction pad and the fin boxes from being painted.
Use tape and paper to mask out or protect the areas that will not be painted. You can also use the taping mask as a stencil.


3. The Spraying Technique
The most difficult thing about painting a surfboard is ensuring that you end up with a uniform coat of paint that looks like one of those brand new surfboards available at a surf shop.
Useful tip: buy high-quality spray paint and always shake the can for at least a minute before you start painting.
Now, pay attention to the painting technique.
First, apply a “tack coat,” a light coat that helps the rest of the paint stick to the board better.
It’s a quick procedure that drops a very thin layer of paint over the board.
While doing so, remember to avoid spraying at a close distance. Otherwise, there will be unwanted droplets and excess paint sliding down the board.
Then, apply the base coat wherever you want. But don’t overspray it.
The trick is to get a thin and generously distributed layer of paint that almost doesn’t add weight to the board.
At this stage, you can also use a few stencil shapes to add creative and original designs and combine two or three colors to create color or light-to-dark fading effects.
One last tip: remember that black and darker colors will heat the board under the sun, delaminate, and end up in the ocean.
So, avoid them if you can.
4. The Clear Coat Finish
Once you’ve finished your paint job, it’s time to apply a good acrylic clear coat, a type of lacquer that will seal the paint.
It is available in spray cans at any hardware store.
The clear coat will give the board a consistent and overall brand-new look and finish and allow you to wax it down quickly.
Once again, apply it at a distance. The more layers you add, the more opaque it will look.
Once you’ve completed your surfboard paint job, let it dry for 24 hours before going for a surf with your shiny wave riding vehicle.


Recent Comments